How to Make Your App Send Emails with Gmail API
Step 1: Create a Google Cloud Project
- Go to Google Cloud Console.
- At the top of the page, click on the Project dropdown (next to the Google Cloud logo).
- Click New Project (top-right corner).
- Fill:
- Project Name: Example:
Gmail Sender App - (You can leave Location as default)
- Project Name: Example:
- Click Create.
- Wait a few seconds — then at the top, make sure your new project is selected (look at the project name in the blue bar).
Step 2: Enable Gmail API for Your Project
- Still inside the Google Cloud Console.
- On the left sidebar, click Navigation Menu (☰) > APIs & Services > Library.
- In the search bar, type Gmail API.
- Click on Gmail API when it appears.
- Click the blue Enable button.
Step 3: Set Up OAuth Consent Screen
- In the left sidebar, click Navigation Menu (☰) > APIs & Services > OAuth consent screen.
- Under User Type, choose:
- External (recommended for apps accessing Gmail).
- Then click Create.
- Fill in:
- App Name: e.g.,
My Gmail Sender - User Support Email: your own Gmail address.
- Developer Contact Information: your own Gmail address again.
- App Name: e.g.,
- Click Save and Continue.
- On Scopes page:
- Click Add or Remove Scopes.
- In the popup, search for and select:
https://www.googleapis.com/auth/gmail.send(for sending emails)
- Click Update.
- Click Save and Continue.
- On Test Users page:
- Click Add Users.
- Add your own Gmail address (or any Gmail addresses you will use for testing).
- Click Save and Continue again.
🛡️ Special Note for Personal Gmail Owners
If you’re using your personal Gmail account:
- Google requires you to publish your app even for yourself after testing.
- Test Users mode only works temporarily.
- You must submit your app for verification and Publish it for long-term use.
✅ After setting up Consent Screen, click “Publish App” at the bottom. ✅ Then proceed to request Verification when ready.
Without publishing, Google may block or limit access after short testing.
Step 4: Create OAuth Credentials (Client ID and Secret)
- In the left sidebar, go to Navigation Menu (☰) > APIs & Services > Credentials.
- Click + CREATE CREDENTIALS (top of page) > OAuth client ID.
- Configure:
- Application Type: Select Web application.
- Name: Example:
Gmail API Web Client.
- Under Authorized redirect URIs:
- Click + ADD URI.
- Enter the URL where your app will receive Google’s authorization response (Copy form MERP Gmail API -> Redirect URL, e.g http://[your domain]/api/gmail/authorize).
- Click Create.
- A popup will show your:
- Client ID (Paste this to your MERP Gmail API -> Client ID input field)
- Client Secret (Paste this to your MERP Gmail API -> Client Secret input field )
How to connect MERP with your Unverified Gmail APP
After clicking the “Connect Gmail API” button, you may see a warning screen (Google hasn’t verified this APP)
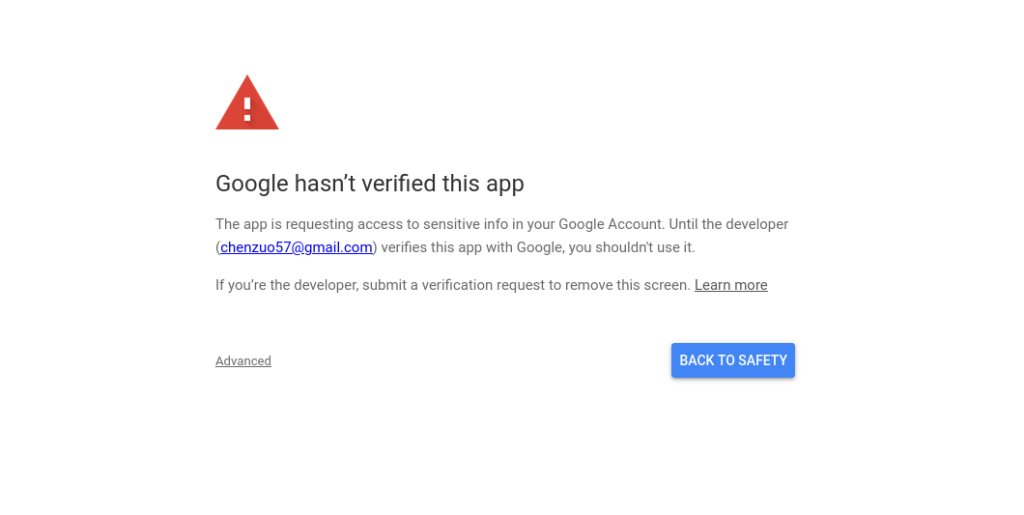
To proceed:
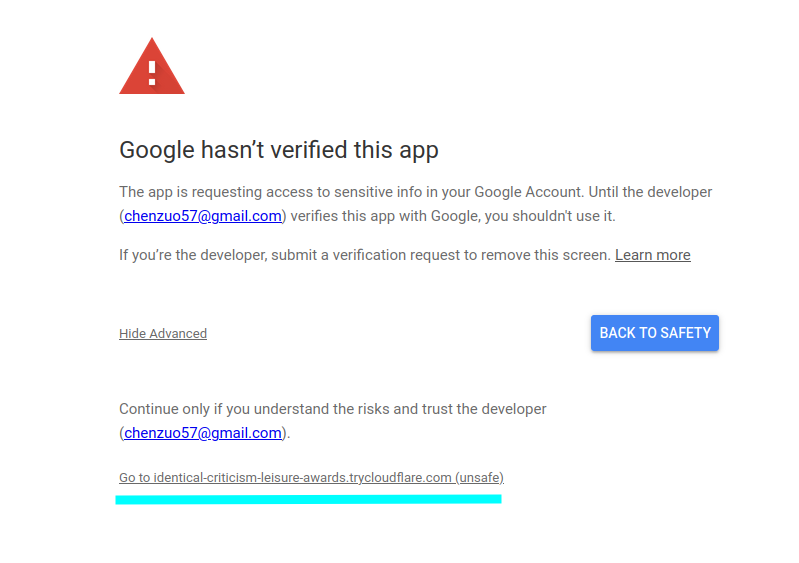
Click the “Advanced” link
Click “Go to [your MERP domain] (unsafe)”
Click the “Continue” button
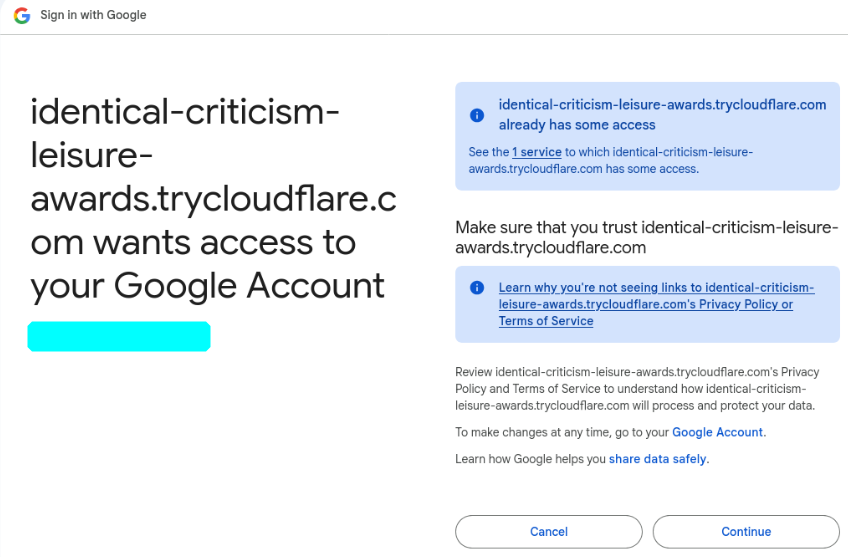
Feel free to contact if you encounter any problems. We are here to help!