Configure your store
To set your Business details:
1.From the Merp sidebar, navigate to Systems > Store Setting.
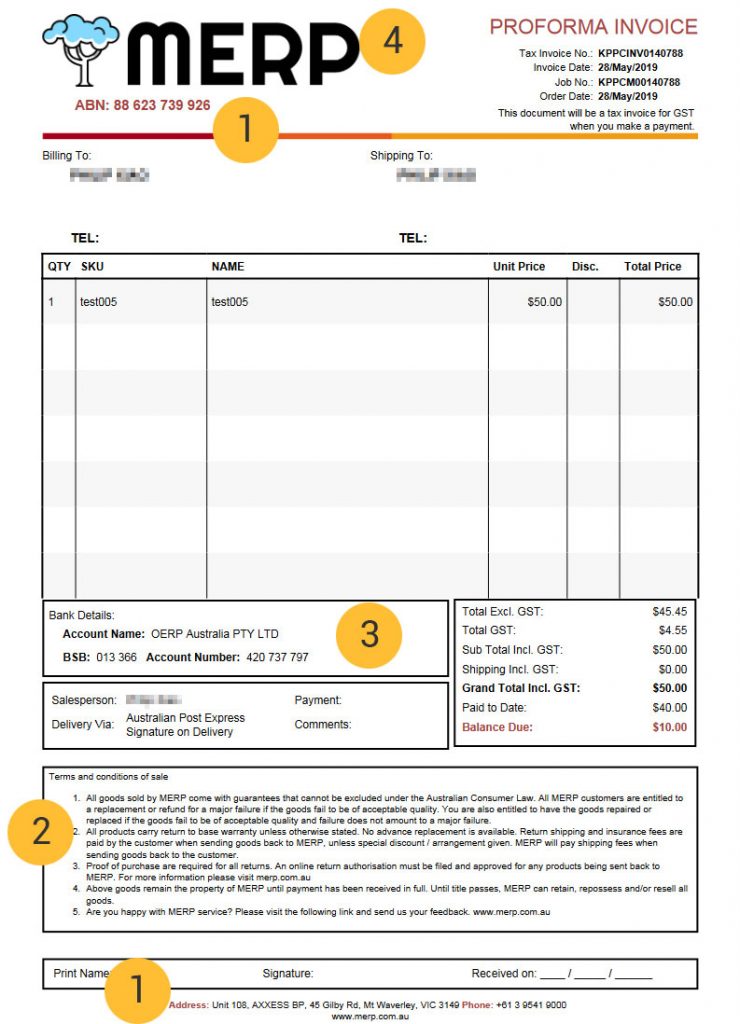
2. The information of Company info, Bank info, Terms & Conditions will be used on the HTML/PDF versions of your sales invoices.
For example, in the invoices that you can print from the invoice detail page.
Set up Shipping Carrier Labels
This element of the system links your integrated carrier account to produce carrier labels and generate electronic manifests. If you are not using the carrier integration module, or are using a non integrated carrier, you can link your services to a “universal” option to print plain address labels. This article will show you how to manually setup a carrier and label configuration.
If you are using an integrated carrier we will assist you to configure your integrated labels and manifests as part of the setup process. Sending Email to [email protected] for each of the carriers you wish to use, and our customer support team will contract you when complete.
Payment Method Settings
Payment methods have a number of common settings that alter the way they display and their functionality. To modift your payment method settings:
1. From the Neto dashboard, navigate to Accounts > Payment Methods.
2. Add/Edit/Delete the payment method.
We recommend testing your checkout page to ensure it functions as you’re expecting.
Staff Users & Permissions
Each staff member will have their own account and dashboard. This guide will show you how to create a new user account from the Merp control panel.
Every staff member that needs access to the Merp will need their own specific user account. Two people can’t be logged in with the same account at the same time. This article will take you through the steps to create additional staff user accounts.
To create a new staff user account:
- From the Merp sidebar, navigate to Systems > User List.
- Click the New button.
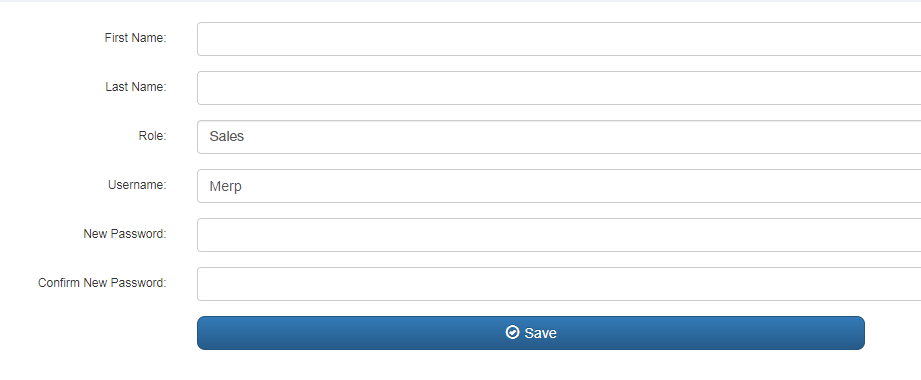
3. Enter the staff member’s First Name
4. Enter the staff member’s Last Name
5. Select the user’s role from the dropdown
6. Enter Password.
7. Click Save.
Your staff user account is now added and the staff mameber can log in to access the Merp.